How to Make Kombucha
You want to start making kombucha at home but you have no idea where to begin? You’ve come to the right place! Learn how to grow a SCOBY, how to make kombucha, flavor it to your preference and enjoy the benefits of homemade probiotic drinks!
If you love the taste of kombucha and want to make your own or if you’ve never had it and are curious about how it is made, article is for you.
What is Kombucha?
Kombucha is a fizzy sweet-and-tart beverage drink made with sweetened tea. It has been around for nearly 2,000 years, originating in China and then spread to Japan and Russia. Kombucha became popular in Europe in the early 20th century and it’s popularity in the United States are on the rise.
For a much more in-depth look into the history and characteristics of kombucha check out the article what is kombucha?
Steps to Make Kombucha
Making (aka brewing) kombucha at home is simple and fun! This guide breaks down the basic process and covers how to get started, what equipment you will need, and how to brew your first batch.
Many people that want to start brewing kombucha are intimidated by the process or feel it is difficult. Whether you’ve brewed kombucha before and want to tweak things, or have never brewed before, this guide will help you get going.
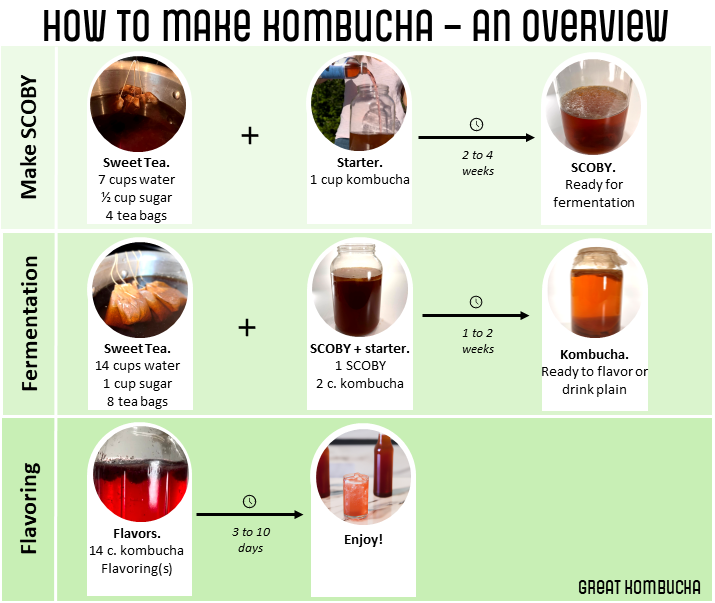
Making Homemade Kombucha is done in four main steps:
1. Grow (or buy) a SCOBY (1 – 4 weeks) – make the culture that will ferment your tea into Kombucha. The SCOBY can be used for many batches and will last for years with a little care.
2. First Fermentation (1 -2 weeks) – Use the SCOBY from step 1 to make your own unflavored Kombucha
3. Flavoring & Second Fermentation (3-10 days) – Add flavors and carbonation to your kombucha
4. Chill & Enjoy! – Either as is or use as ingredient in a tasty Kombucha Mocktail or Kombucha Cocktail
Step 1: Make (Grow) a Scoby
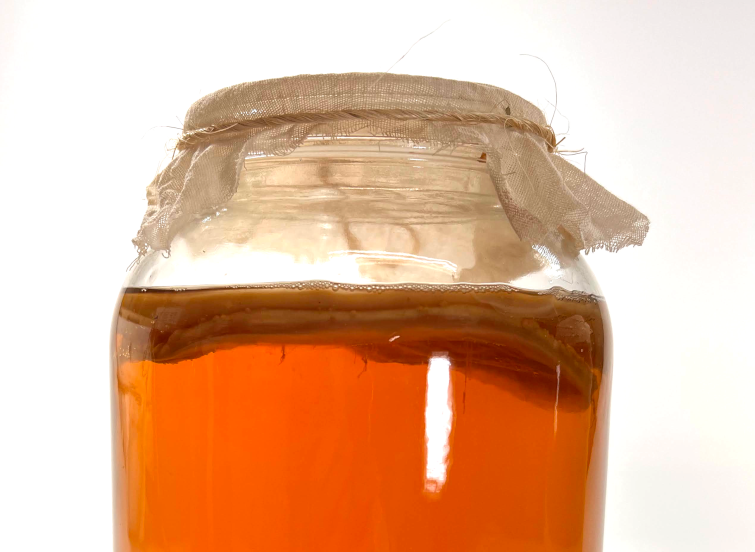
How to Make A Kombucha SCOBY
The SCOBY (Symbiotic Culture of Bacteria and Yeast) is a pellicle (film) that forms on top of the brew. The SCOBY, or mother, kicks off the fermentation process of each batch of kombucha while also protecting the kombucha from contaminants like dust and debris.
A SCOBY is easy to grow yourself with a few common ingredients or you can buy a ready-made SCOBY online.
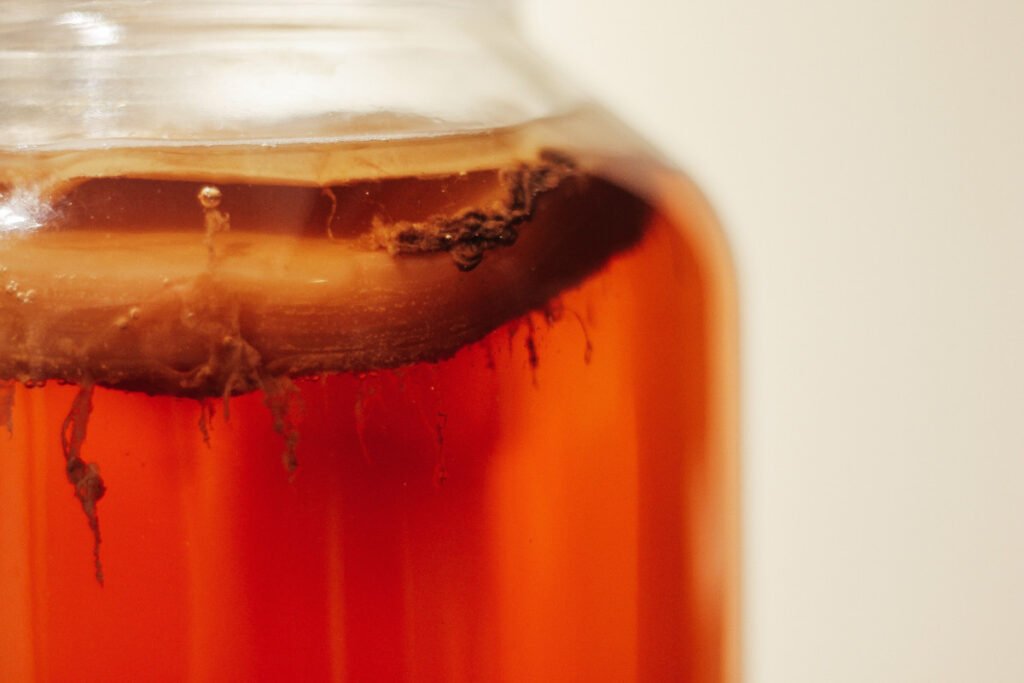
Ingredients to Make a SCOBY
- 7 cups (1.6L) water
- 4 bags (7 g) black tea (not decaf) (read about best tea for kombucha)
- 1/2 cup (100 g) white sugar 1 cup (240 mL)
- 16 oz Kombucha. Finished homemade kombucha or store-bought kombucha both work . Read more about starter kombucha here
Supplies to Make a SCOBY
- Large nonreactive pot for boiling water
- Large glass or ceramic container (no plastic or metal) I prefer a 1 Gallon Wide Mouth Mason Jar or a two pack (affiliate links
)
- Long-handled spoon like these (affiliate link
)
- Tightly woven cloth (clean tea towels, coffee filters, paper towels, napkins, cheese cloth) I like to use cheesecloth (affiliate link
)
- Rubberband or twine to keep covering on glass fermentor
- Digital kitchen scale (useful but not essential)
How to Make a SCOBY
1. Make Sweet Tea: Bring the 7 cups of water to a boil in pot. Remove from heat and add 1/2 cup sugar. Stir to dissolve sugar. Add the tea bags to the pot (remove any paper tags or hang over the side), cover and steep the sugar tea mixture for at least 20 minutes. You may allow it to steep longer if needed.
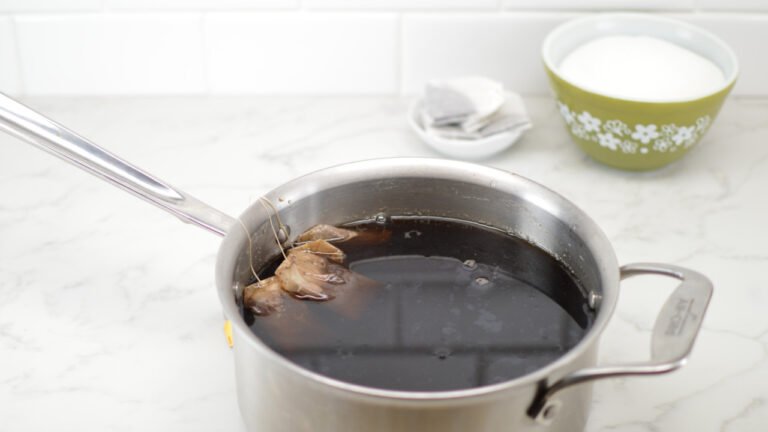
2. Cool Tea to Room Temperature: Wait for sweet-tea mixture to cool to room temperature. This process can be sped up by boiling just 2 cups of water and making a concentrated sweet tea by dissolving the sugar, and steeping the tea in that water for 20 minutes.
Next, add the remaining 5 cups of cold water to this the concentrated tea, which will rapidly cool the mixture close to room temperature. Ensure the sweet tea mixture is totally cooled since the kombucha SCOBY is sensitive to temperature.
3. Add Starter Kombucha: Pour the cooled sweet tea mixture into your clean fermentation jar. Add the starter kombucha. It is helpful to swirling the bottle a few times while pouring to ensure the kombucha cultures which settle into a sediment at the bottom of the bottle are added to the fermenter. Adding the sediment will help ensure a vigorous vigorous start to your kombucha fermentation.
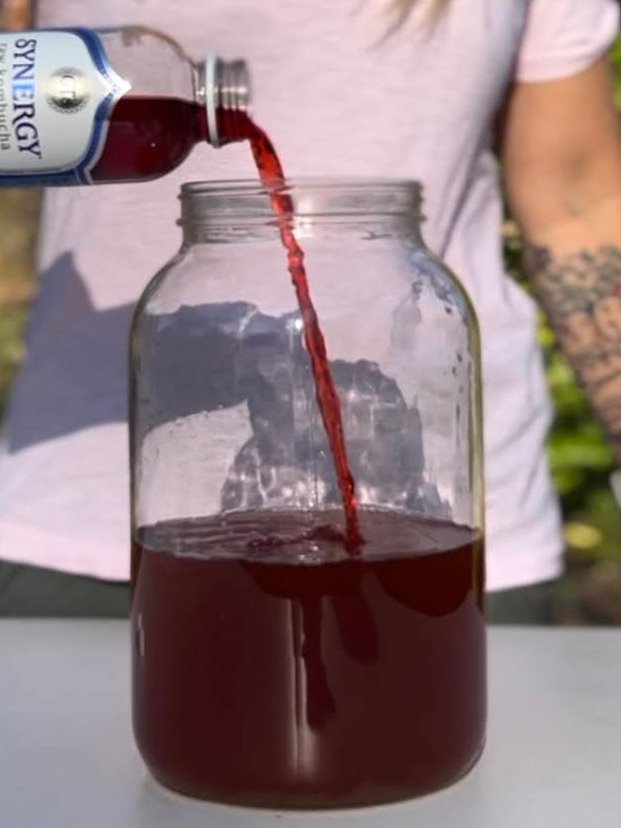
4. Cover: Cover the opening of the fermentor with layers of the tightly woven cloth to keep pests such as dust, bugs and unwanted microbes. Use a rubber band or twine around the neck to keep it in place.
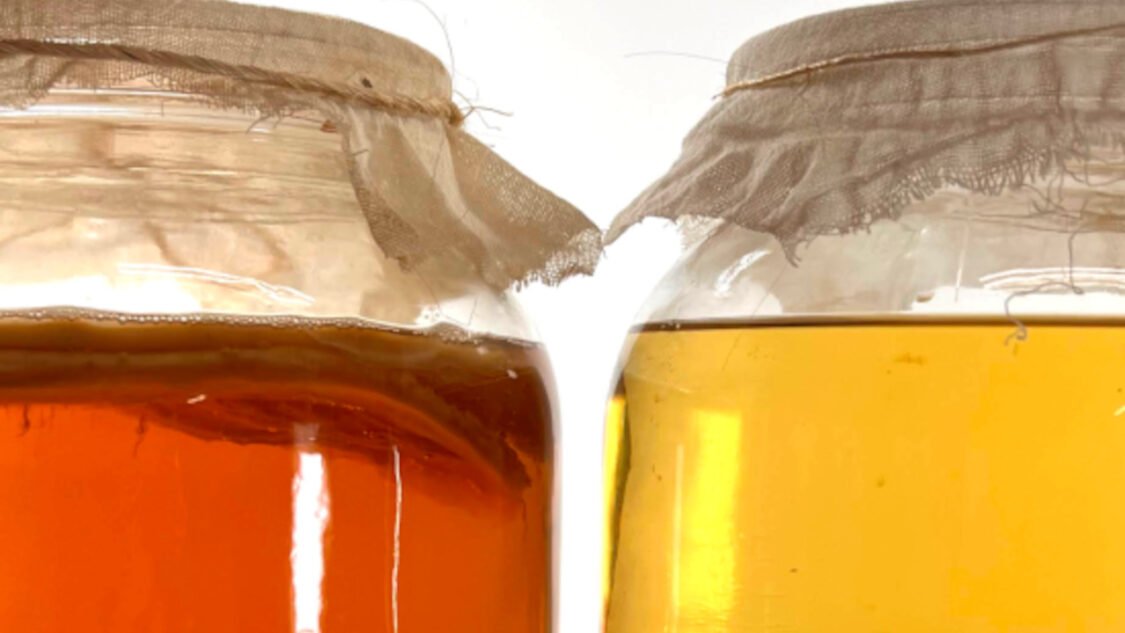
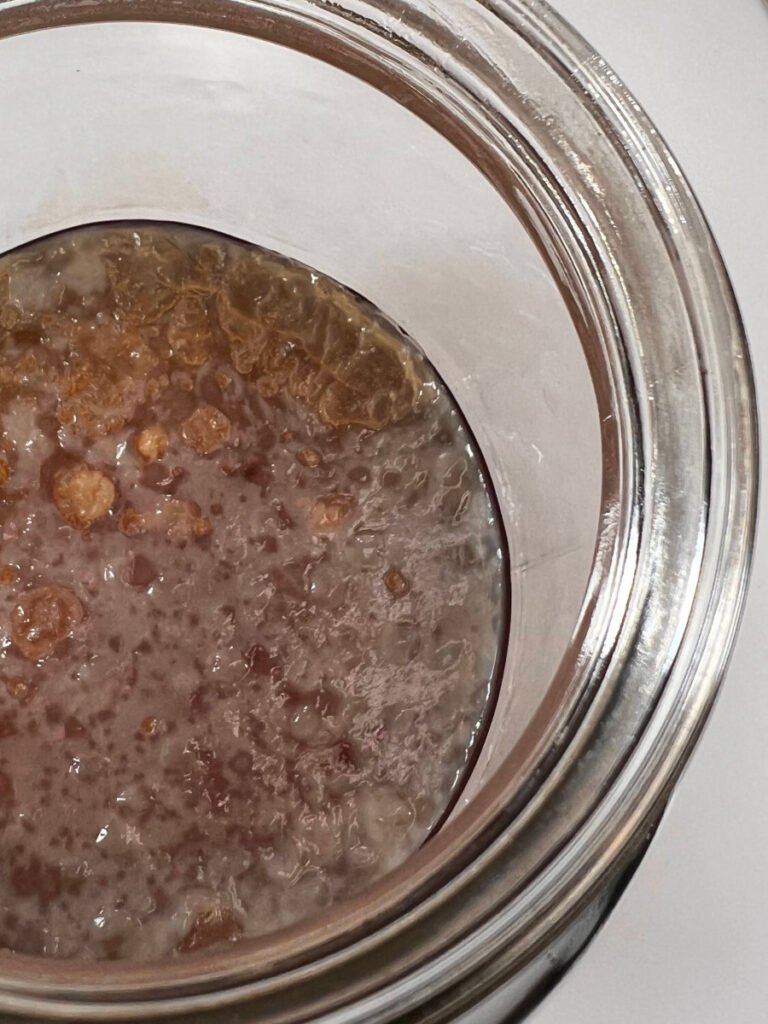
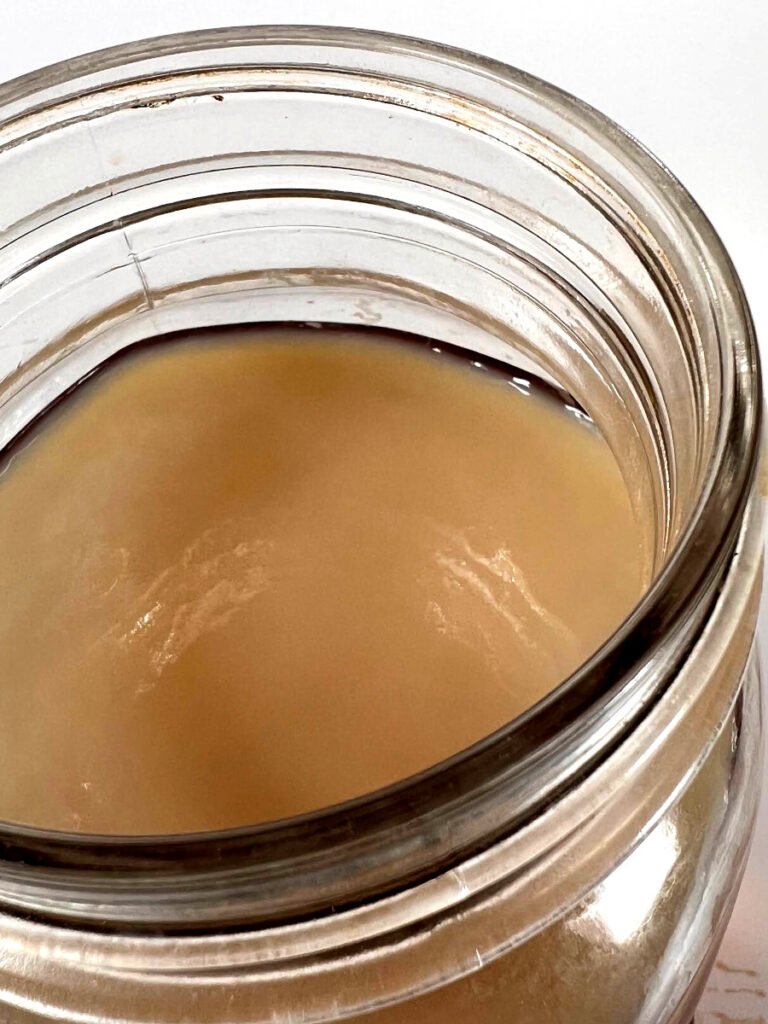
5. Ferment: Place fermentor in a still area out of direct sunlight that is room temperature (70-75F / 21-24C) for 2 to 4 weeks, until a SCOBY about ¼ inch (½ cm) thick has formed. The SCOBY will look blotchy and spotted (see picture below left) and form into a smooth solid pellicle.
Tips for making your Kombucha SCOBY
- Only black tea: The SCOBY grows more vigorously with black tea and not as well with green or herbal/fruity teas. Once your SCOBY is larger you can use green tea, but for now stick with black.
- No decaf: The SCOBY will not grow as well if decaf tea is used. After a few batches with your SCOBY you can introduce some decaf tea if your goal is to reduce caffeine consumption.
- White Sugar: White table sugar is the best food source for growing a SCOBY. It is cost effective, easy found and is a pure food source for the growing culture. Save your more expensive/exotic flavors for flavoring and special recipes.
Step 2: First (Primary) Fermentation
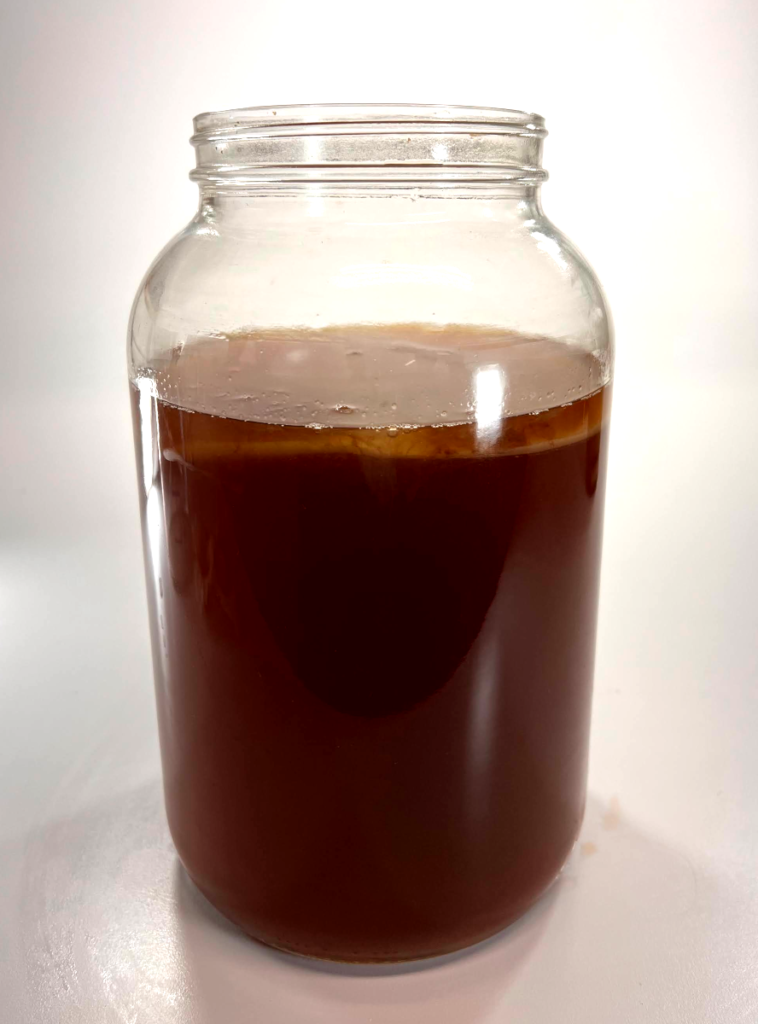
Primary Fermentation
Now that you you have a SCOBY, you’re ready to move to Primary fermentation where you will follow the same steps as growing a SCOBY only this time your end result will be homemade kombucha!
Ingredients for Primary Fermentation
- 14 cups (3.3 L) water
- 8 bags (14 g) black, green, oolang or white tea (see the best tea for making kombucha)
- 1 cup (200 g) white sugar
- 2 cups (480 mL) kombucha, either from a previous batch (from growing your SCOBY, a friend) or store bought unpasteurized or “raw” kombucha
- SCOBY (home grown or purchased online)
Supplies for Primary Fermentation
- Large nonreactive pot for boiling water
- Large glass or ceramic container (no plastic or metal) I prefer a 1 Gallon Wide Mouth Mason Jar or a two pack (affiliate links
)
- Long-handled spoon like these (affiliate link
)
- Tightly woven cloth (clean tea towels, coffee filters, paper towels, napkins, cheese cloth) I like to use cheesecloth (affiliate link
- Rubberband or twine to keep covering on glass fermentor
- Digital kitchen scale (useful but not essential)
Primary Fermentation Instructions
1. Make Sweet Tea: Bring the 7 cups of water to a boil in pot. Remove from heat and add 1/2 cup sugar. Stir to dissolve sugar. Add the tea bags to the pot (remove any paper tags or hang over the side), cover and steep the sugar tea mixture for at least 20 minutes. You may allow it to steep longer if needed.
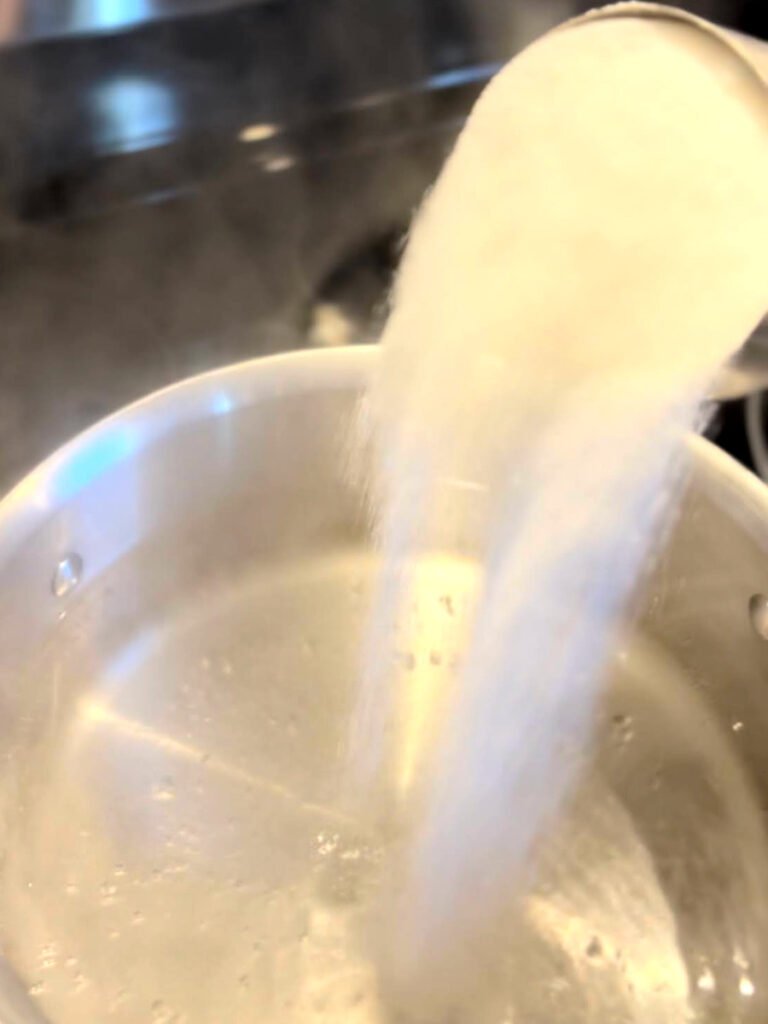
2. Cool Tea to Room Temperature: Wait for sweet-tea mixture to cool to room temperature. This process can be sped up by boiling only 4 of the cups of water and making a concentrated sweet tea by dissolving the sugar, and steeping the tea in that water for 20 minutes.
Next, add the remaining 10 cups of cold water to this the concentrated tea, which will rapidly cool the mixture close to room temperature. Ensure the sweet tea mixture is totally cooled since the kombucha SCOBY is sensitive to temperature.
3. Remove SCOBY from Fermenter: With thoroughly washed hands (I like to use a little unscented hand sanitizer too), carefully remove the SCOBY from the fermentor and place on a clean dish. Pour 2 cups of the kombucha liquid into a glass jar or Pyrex style measuring cup and reserve as your starter kombucha for this batch.
Discard the rest of the kombucha liquid since it is very acidic/vinegary and not good for drinking due to the long fermentation process of growing a SCOBY. Clean and briefly dry the fermentor
4. Add Starter: Pour the cooled sweet tea into your fermentor and add the 2 cups reserved starter kombucha. With clean hands carefully add the SCOBY to the fermentor (it will likely sink–that’s OK).
5. Cover: Cover with a few layers of the tightly woven cloth and secure with a rubber band or twine.
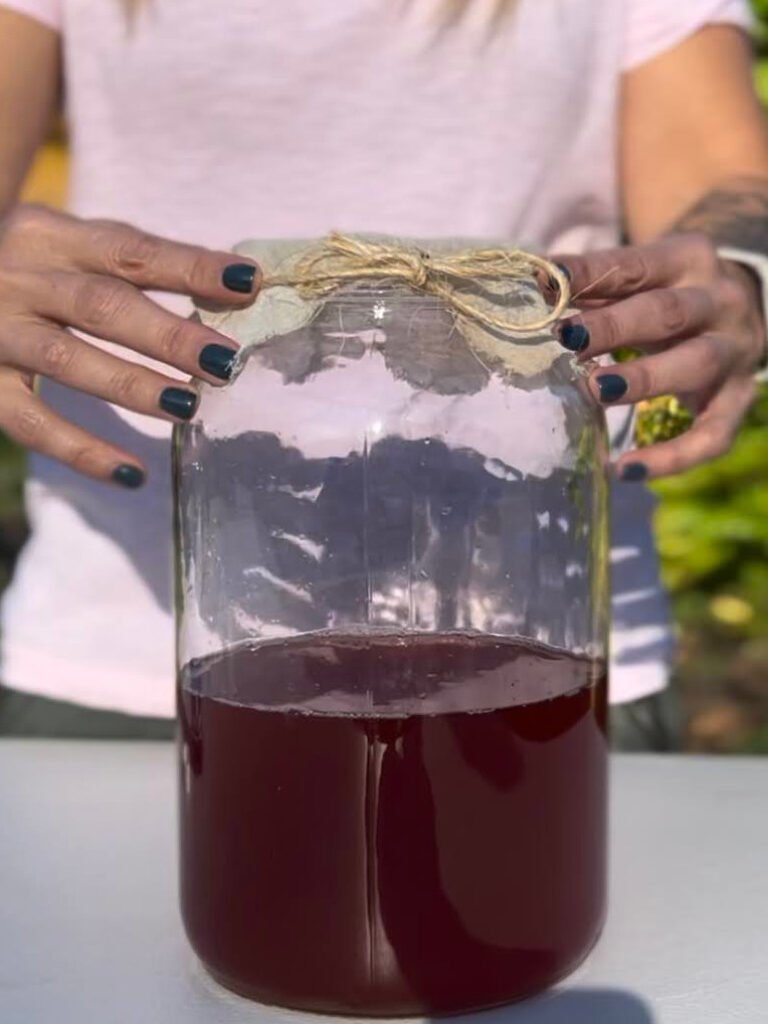
6. Ferment: Place fermentor in a still area out of direct sunlight that is room temperature (70-75F / 21-24C). See where to store Kombucha for more information.
Let it ferment undisturbed for a week and begin taste-testing. Carefully drawing out some of the tea by dipping a paper straw into the kombucha and covering the top of the straw with a finger and lifting it out. The kombucha is ready when it is mildly sweet and slightly tangy/vinegary.
Under warmer conditions the ferment more quickly and therefore be ready sooner. The longer it’s allowed to ferment, the cultures in kombucha will consume more of the sugar leading to a less sweet and more vinegary kombucha.
7. Proceed to Flavoring and Secondary Fermentation: Congratulations on making Kombucha! Now comes the fun part, customizing it with your favorite flavors.
Primary Fermentation Tips
- Tea Varieties During primary fermentation the SCOBY is vigorous enough to to ferment a variety of teas. Experiment with your favorite teas such as green, white, oolong, or a combination of them. Herbal and fruit teas should be mixed with a few black tea bags to ensure the SCOBY has the nutrients needed to thrive.
- Multiple SCOBYs? Your kombucha may develop a second SCOBY during primary fermentation or the original SCOBY may grow thicker at which point you can peel off a layer to create a second SCOBY. You may use the second SCOBY to ferment another batch or give it to a friend.
Step 3: Flavoring & secondary Fermentation
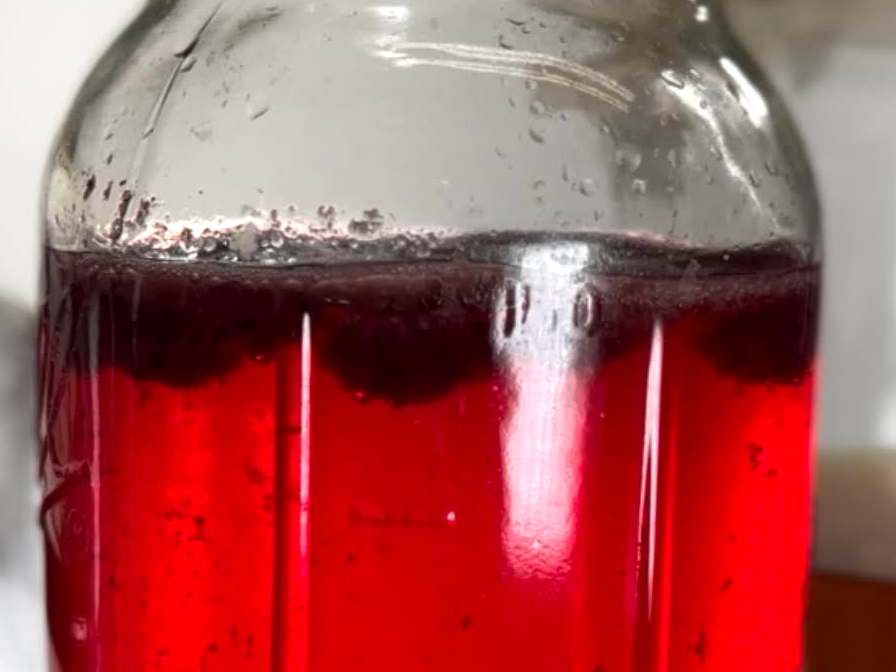
Flavoring Kombucha
The last step in the homemade homemade kombucha making process is flavoring and carbonation (also referred to as second or secondary fermentation.)
Here is where you can exercise your creativity and infuse your kombucha with your favorite flavors and transform it into fizzy goodness. You simply add desired flavors, bottle and wait for it to carbonate.
ingredients for flavoring
- Homemade kombucha from the first fermentation (reserve 2 cups to use as starter kombucha for your next batch. You can leave it in the jar with SCOBY). The remaining kombucha will be used for flavoring and carbonation.
- A source of sugar to generate carbonation (fruit, honey, or sugar)
- Your choice of flavors There are several great combinations of fruits, herbs and spices you can use to flavor your kombucha and varying the amounts of will give you more or less intense flavors. As a starting point I like to use the following for a 16-oz bottle:
- 1/4 cup finely chopped or pureed fruit
- 2 T fruit or vegetable juice
- 1-2 T chopped Fresh Herbs (mint, basil, thyme, etc)
- 1/4 tsp Spices (cinnamon, clove, cayenne, turmeric, etc)
- 1 tsp honey (or sugar, maple, agave, etc) – if not using fruit or fruit juice
For more details, check out how flavor Kombucha and if you’re ready to jump in try the best kombucha flavors
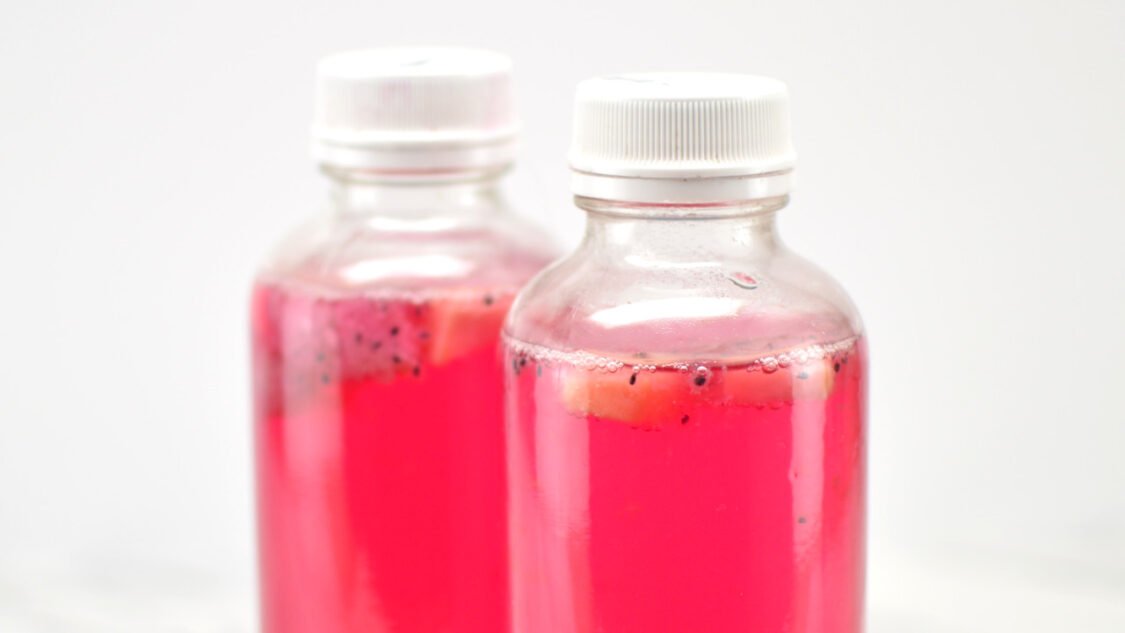
SUpplies for flavoring Kombucha
- Glass bottles Typically a one gallon batch of kombucha will yield about 7 x 16 oz. bottles or 3 – 32 oz. bottles. Here are the best bottles for kombucha.
- Small funnel to help fill bottles – like one of these (affiliate link
)
Kombucha FLavoring Instructions
1. Add Flavoring Ingredients Add your choice of flavoring ingredients to each bottle. The amount depends on the type of ingredient and size of bottle
2. Add Sweetener You will want to add a type of sugar if you are bottling your kombucha without flavors or if you prefer your kombucha to be a bit sweeter
3. Fill Bottles Fill each bottle with your kombucha from primary fermentation (Step 2) to about 1″ (2.5 cm) from the top
4. Carbonate Place the bottles out of direct sunlight in an area that’s room temperature for 3-10 days. After the third day place a bottle in the refrigerator overnight to chill and test the carbonation level by carefully opening the bottle chilled. Once the desired carbonation level is attained, move all of the bottles to the refrigerator to stow the carbonation process.
Kombucha Flavoring Tips
Take notes keeping notes on favorite flavor combinations and fermentation times will help you remember and improve your process on subsequent batches.
Be patient kombucha will be carbonated more quickly under warmer conditions and when there is more fruit / sugar added. Similarly it will take longer under cooler conditions and with less fruit and sugar added.
Bottle bombs if your kombucha ferments too long in a closed bottle it will continue to build pressure from the carbonation and the bottles / jars can explode.
One tip you can use to dial in your carbonation time and temperature is to bottle a portion with fruit and sugar in a plastic bottle – a used water bottle works great. As the kombucha carbonates give the bottles a squeeze daily until the bottles are very firm. At this point your bottles are likely ready. Place them in the refrigerator to slow the secondary fermentation.
Not carbonating?
Check out our troubleshooting guide to flat kombucha here
Step 4: Enjoy your creation!
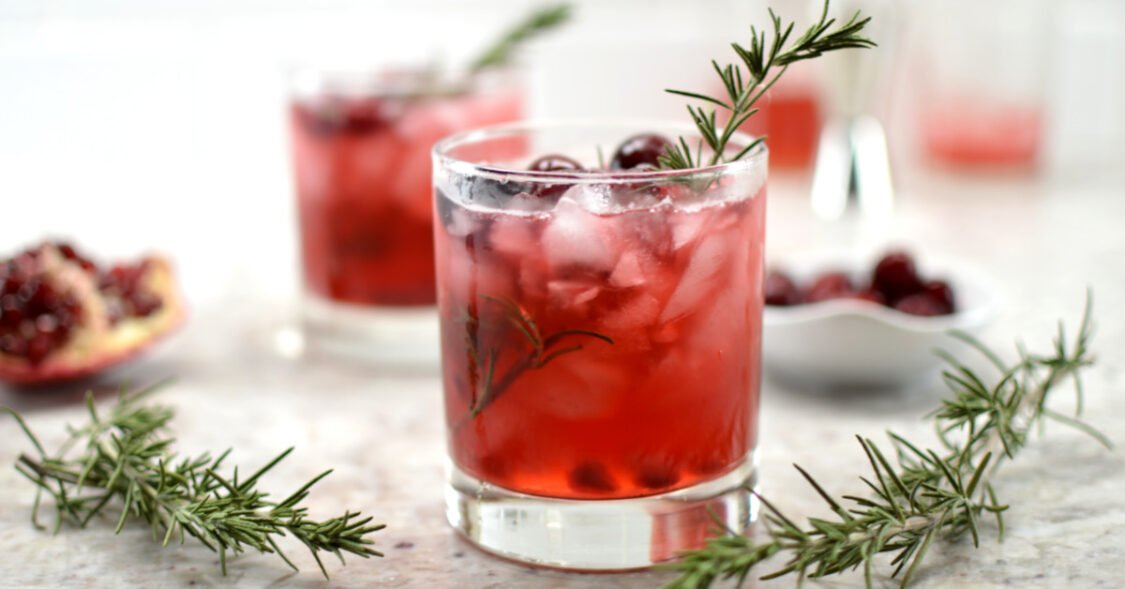
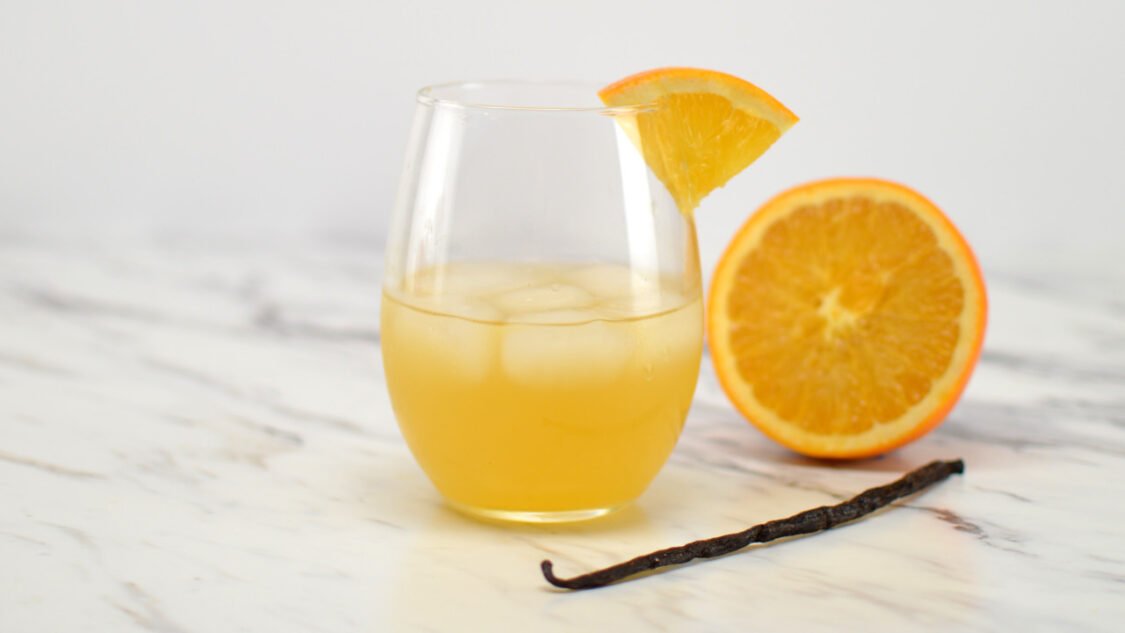
Serve Once your kombucha is flavored and carbonated it’s time to enjoy the fruits of your labor! Serve over ice and garnish with fruit or make a Kombucha Mocktail.
Helping you learn to brew kombucha, find inspiration for new kombucha flavors and use kombucha to make kombucha mocktails
The materials contained on this website are intended to be used for educational purposes only, and the website’s use is solely at your own risk. It is important to use good judgment when consuming kombucha. Never consume kombucha that looks, tastes, or smells unpleasant. Further, before consuming kombucha or any other fermented or cultured food, you should receive full medical clearance from a licensed physician. Author and publisher claim no responsibility to any person or entity for any liability, loss, or damage caused or alleged to be caused directly or indirectly as a result of the use, application, or interpretation of the material on this website.

 )
)