How to Do Secondary Fermentation
Now that you know what secondary fermentation (2F) is, let’s learn about the process and step through how to do secondary fermentation

Materials for Secondary Fermentation
In order to complete secondary fermentation you will need some of the following depending on which method of secondary fermentation you use:
- Bottles and caps- see best bottles for kombucha for reccomendations.
- Fruit, juice, herbs and spices
- Small Funnel like one of these (affiliate link
)
- Strainer or cheesecloth
- Large glass or ceramic Second fermenters (if using the 3F method below) (no plastic or metal) I prefer a 1 Gallon Wide Mouth Mason Jar or a two pack (affiliate links
)
Tip: Prepare starter tea for your next batch and let it start cooling (see how to make sweet tea for kombucha). If you don’t plan to start another batch right away, see this article on how to take a break from brewing kombucha.
Method 1: How to do Secondary Fermentation in the bottle
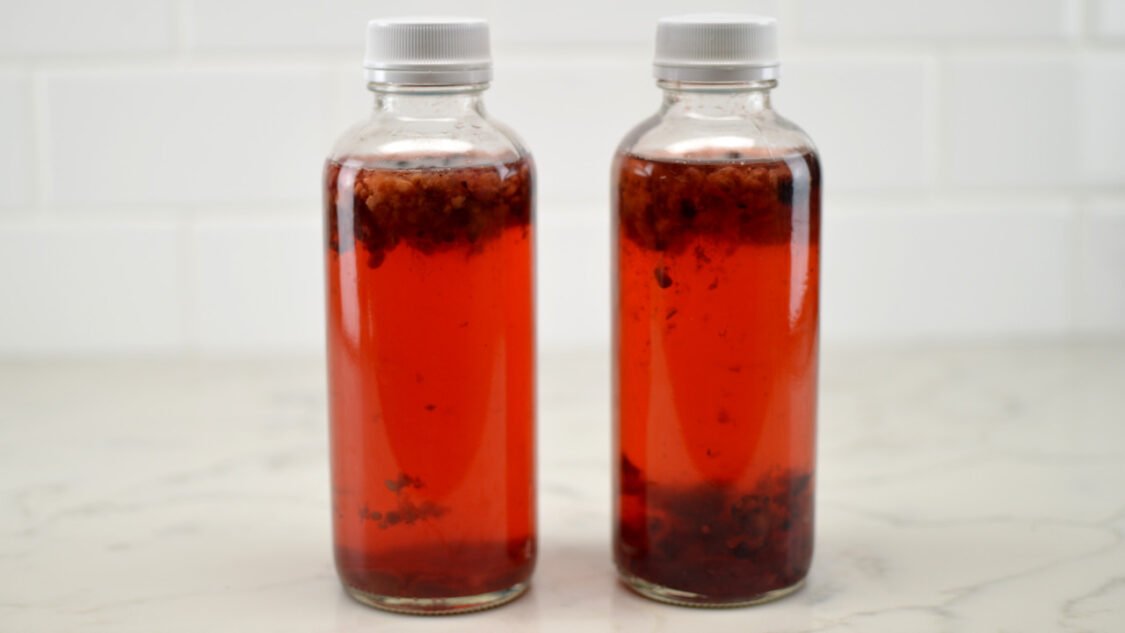
In this method the fruit and flavorings are added to each bottle, the bottles capped and set aside to undergo secondary fermentation. The fruit and flavors infuse the kombucha at the same time the yeast works on the sugar to create carbonation.
1. Determine your kombucha is ready for flavoring and bottling – The first step is deciding that your primary fermentation is complete. How do you know? It should have a little sweetness with a vinegar presence. If you have a pH meter or test strips it should be in the range of 2.5 – 3.5. {link} If you haven’t started your primary fermentation, check out this post on how to brew kombucha.
2. Prepare your kombucha bottles for fermentation – If you rinsed your bottles as your drank them you are ahead of the game! Otherwise, rinse your bottles and soak in water if there is any dried kombucha or caked on gink . Clean and rinse bottles with hot water. If necessary, use a bottle brush to remove any stuck-on debris. See this post on how to clean kombucha supplies for in-depth cleaning advice.
3. Pick your flavors – One of the great things about making homemade kombucha is that there are no rules on what or how much to add–it is up to your taste and preference. Depending on how much of the base kombucha you want to taste and how long you let your brew ferment in primary fermentation will drive how much of each flavoring to add.
A good starting point for adding flavor to each 16 oz bottle:
- Juice or Fruit: 10% (or about 2 TBS)
- Fresh Herbs (mint, basil, thyme): 1-2 Tsp chopped
- Spices (cinnamon, clove, cayenne, turmeric): 1/8-1/4 tsp
- Sugars (honey, sugar, maple, agave) 1 tsp
Since you’re going to add them right into the bottles, it’s better to add them before you add kombucha so you don’t overflow the bottles.
4. Reserve kombucha starter for your next batch – Remove any SCOBYs from your brew jar and place in a clean, non-reactive container. Measure about 2 cups of your freshly finished kombucha and add to the container with the pellicles. This is this is your starter for your next gallon batch.
5. Fill bottles with kombucha – Using a funnel, fill each of the bottles up with kombucha, leaving about 1-2″ of headspace (air at the top) of each bottle. Opinions differ on how much headspace to leave, though one inch of headspace is a good start, and you’ll learn what works best as you brew more kombucha. Secure caps tightly on bottles.
6. Ferment – Place bottles in a warm spot between 75-85 degrees Fahrenheit out of direct sunlight and ferment for 1-10 days. See where to store kombucha for more information.
The fermentation time depends on the temperature, the kombucha batch, and any additives you introduce. For instance, some fruits, such as raspberries, are known to speed up carbonation. During this time, you might notice some kombucha growth—floating strands, sediment, or even the partial development of a mini SCOBY.
7. Test – Try one bottle of kombucha for fizziness and flavor by carefully opening a bottle and pouring a small amount into a glass. Since it is not chilled it will seem extra fizzy. When it’s to your liking, place the bottles in the refrigerator for storage.
8. Enjoy! – It’s not necessary to strain kombucha, though you can filter out the fruit and kombucha particles before refrigerating or wait until your pour it into a glass and strain it out while pouring.
METHOD 2: HOW TO DO SECONDARY FERMENTATION with a 3F
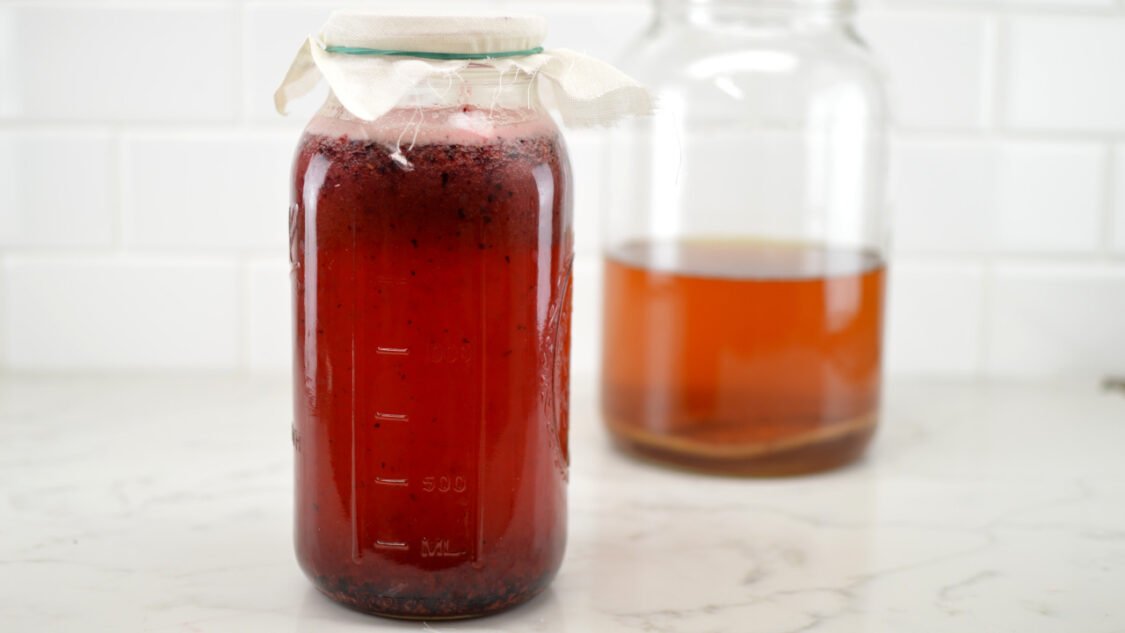
In this method the kombucha is moved to another fermentor with desired fruits and flavorings added. It is then allowed to infuse for 1-2 days, strained into clean bottles, sugar added and closed for carbonation in what is called a Third Fermentation or 3F.
1. Determine your kombucha is ready for flavoring and bottling – The first step is deciding that your primary fermentation is complete. How do you know? It should have a little sweetness with a vinegar presence. If you have a pH meter or test strips it should be in the range of 2.5 – 3.5. If you haven’t started your primary fermentation, check out this post on how to brew kombucha.
2. Prepare your kombucha 2F fermentation vessel- Depending if you are flavoring the whole batch with the same flavors or want to split the batch you will need another clean 1 gallon glass jar or two 1/2 glass jars. I like to use 1/2 gallon mason jars
3. Pick your flavors – One of the great things about making homemade kombucha is that there are no rules on what or how much to add–it is up to your taste and preference. Depending on how much of the base kombucha you want to taste and how long you let your brew ferment in primary fermentation will drive how much of each flavoring to add.
A good starting point for adding flavor to each 1/2 gallon of unflavored kombucha:
- Juice or Fruit: 1/2 cup
- Fresh Herbs (mint, basil, thyme): 1-2 TBS chopped
- Spices (cinnamon, clove, cayenne, turmeric): 1-2 tsp
- Sugars (honey, sugar, maple, agave) N/A no sugar is added at this point.
Prepare and add the fruit to the secondary fermentation vessel(s)
4. Reserve kombucha starter for your next batch – Remove any SCOBYs from your brew jar and place in a clean, non-reactive container. Measure about 2 cups of your freshly finished kombucha and add to the container with the pellicle(s). This is this is your starter for your next gallon batch.
5. Fill the 2F fermentor(s) with kombucha – fill each of the secondary fermentation vessels with kombucha, leaving about 1-2″ of headspace (air at the top) of each bottle. Cover with clean napkins, cheesecloth or tea towels and secure with a rubberband.
6. Flavor (second fermentation) – Place fermenters in a warm spot between 75-85 degrees Fahrenheit out of direct sunlight and allow flavors to infuse into the kombucha for 1-2 days.
Now you are ready to learn how to do third fermentation
Favorite Kombucha Flavors
Now that you know how to do secondary fermentation, check out the following for kombucha flavoring ideas:
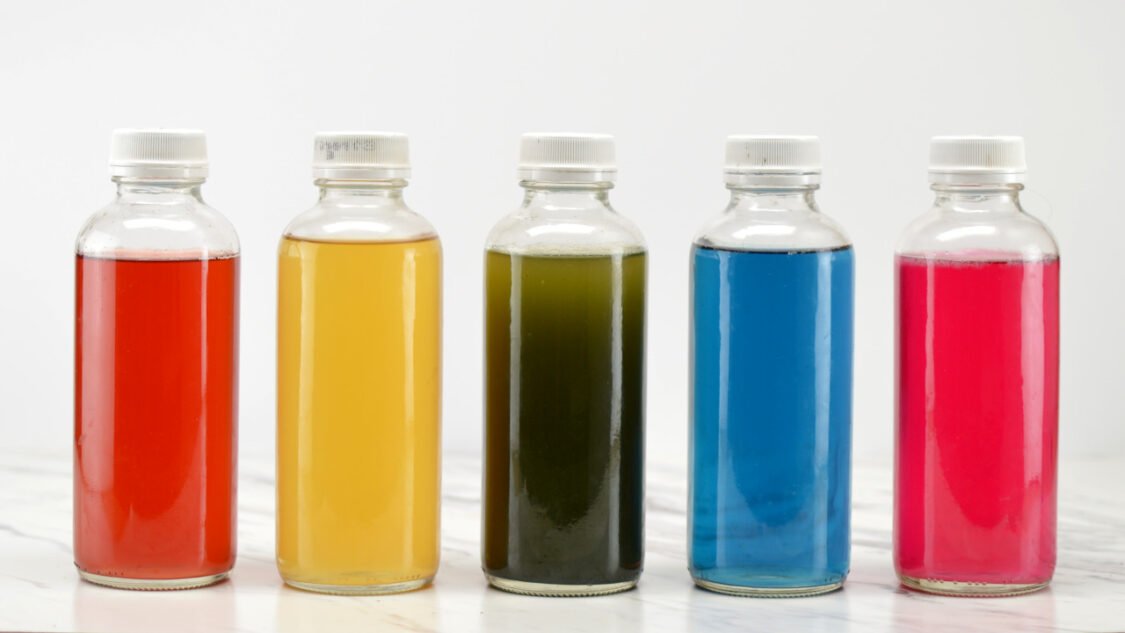
Helping you learn to brew kombucha, find inspiration for new kombucha flavors and use kombucha to make kombucha mocktails

 )
)