What is Third Fermentation
Read more about third fermentation and if it would be a good additon to your kombucha brewing process
Adding a third fermentation may sound like adding more work to the brewing process; however, it’s only a bit more work and can enable you to have bottles of kombucha with no flavoring pieces and little sediment. Read more about the process, benefits and downsides.
What is third fermentation?
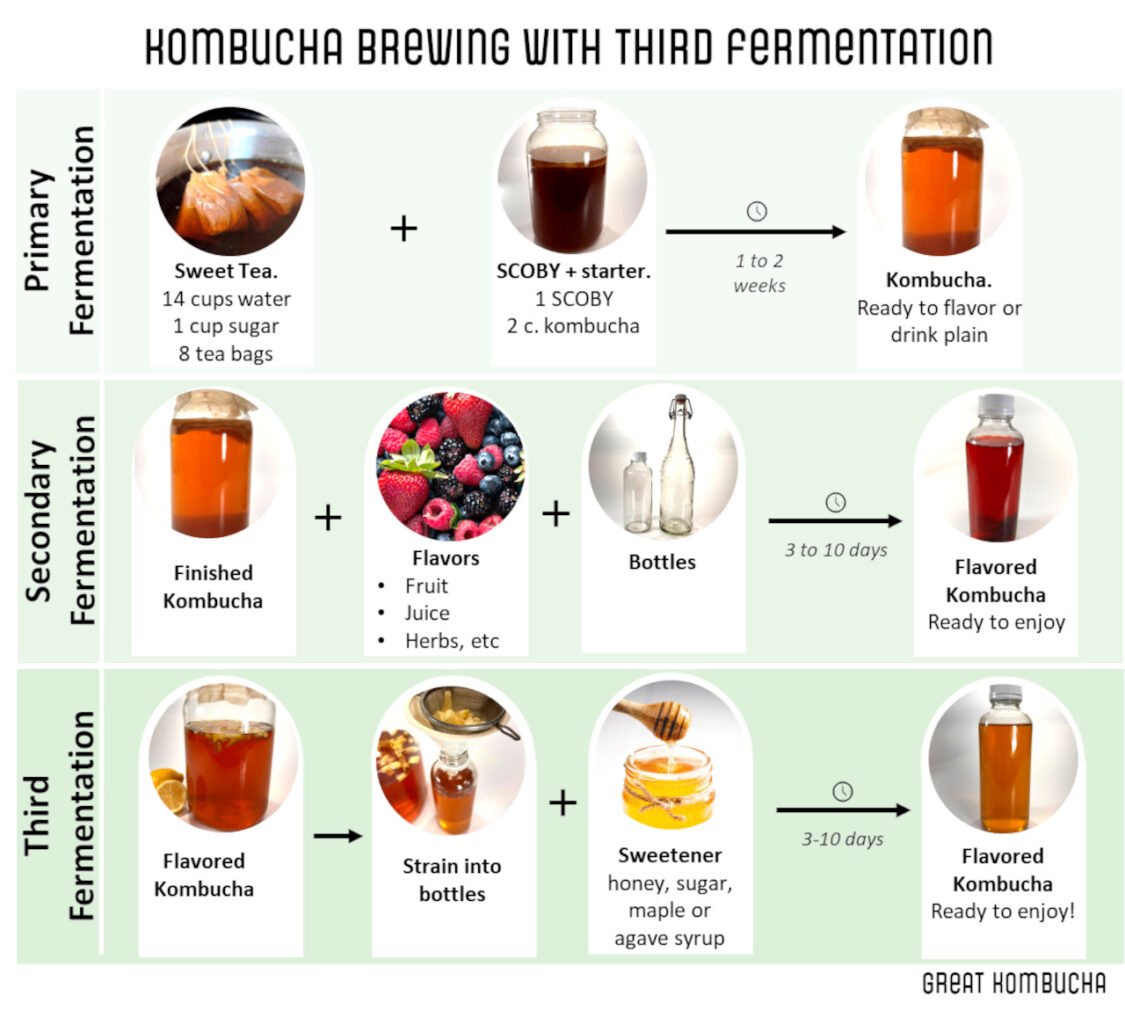
A third fermentation splits the flavoring and bottling steps of the kombucha brewing process into two separate sub-steps:
- Flavoring: The flavoring step, which is now your secondary fermentation (2F), is where you transfer the finished kombucha to a separate fermenting vessel (or the original after removing and setting aside the SCOBY and starter liquid for your next batch)
Next you simply add the flavoring (fruits, herbs and spices, etc.) and cover with a clean cloth or a hard lid–but don’t seal it–and allow the flavors and color to infuse into your kombucha for 1-3 days.
- Bottling and carbonation: The bottling and carbonation step is the third fermentation (3F) where your strain or filter out the flavoring agents used in the secondary fermentation. Then add the flavored kombucha to bottles, adding a small amount of sugar to each bottle to encourage carbonation and letting them carbonate for 3-10 days.
Why do third fermentation?
There are a few main benefits to adding a third fermentation step to your brewing process:
- You can strain the flavoring ingredients from the kombucha as you bottle. This eliminates the need to strain the fruit out when serving and can reduce the chances of bottles becoming fruit gushers when opened.
- Removing the flavoring ingredients maintains the flavor of the bottled kombucha longer as leaving in the bottle can allow them to degrade and mix into the bottle, potentially causing off flavors.
- Flavors are evenly distributed through the kombucha along with the carbonation producing yeast which leads to increased consistency between bottles.
Disadvantages of Third Fermentation
There are of course a few disadvantages to third fermentation, otherwise it would be the norm:
- Adding a third fermentation to your brewing timeline lengthens the overall timeline by splitting flavoring and carbonation which done simultaneously with a two step fermentation
- Additional hands-on time and work to the process for preparation and clean-up of the additional step
- You are committed to whole batch of same flavor when you use a third fermentation since it is all flavored together. When flavoring in the bottle you can try an experiment with a bottle or two or use different flavoring combinations for some of the bottles.
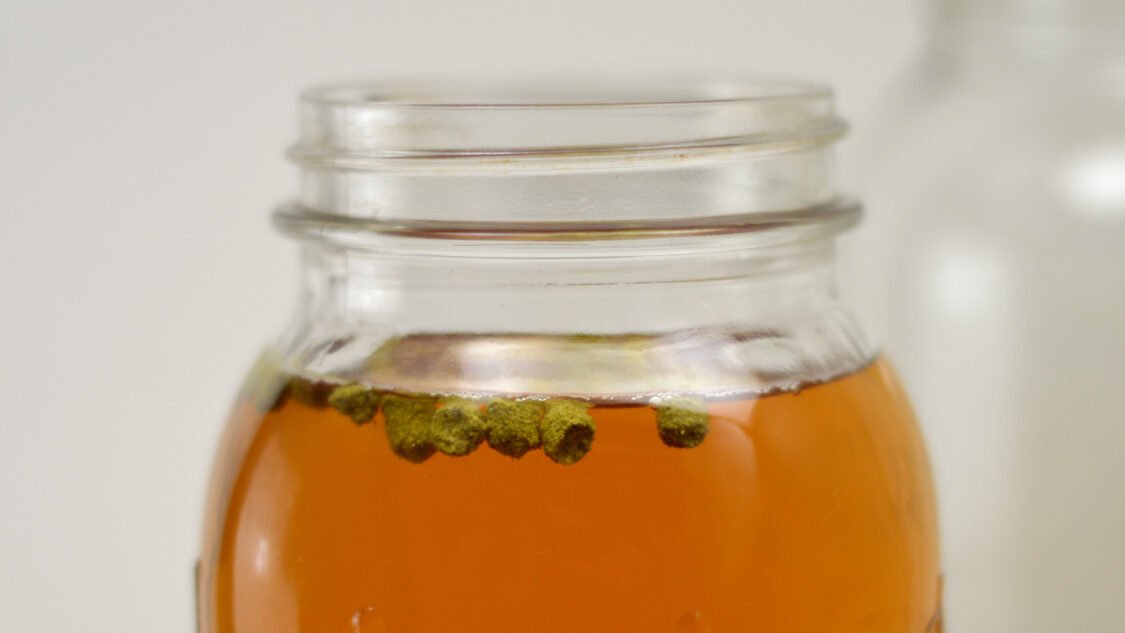
aDDING a Third Fermentation
Here is a quick overview of what the steps will look like when conduction a third fermentation. Notice the steps that were all part of secondary fermentation are now split across secondary and third fermentation.
Secondary Fermentation:
- Prepare your kombucha 2F fermentation vessel
- Pick your flavors
- Reserve kombucha starter for your next batch
- Fill the 2F fermentor(s) with kombucha
- Flavor (second ferment)
Third Fermentation:
- Prepare your kombucha bottles for fermentation
- Strain kombucha and fill bottles
- Carbonate
- Test
- Enjoy!
Helping you learn to brew kombucha, find inspiration for new kombucha flavors and use kombucha to make kombucha mocktails
The materials contained on this website are intended to be used for educational purposes only, and the website’s use is solely at your own risk. It is important to use good judgment when consuming kombucha. Never consume kombucha that looks, tastes, or smells unpleasant. Further, before consuming kombucha or any other fermented or cultured food, you should receive full medical clearance from a licensed physician. Author and publisher claim no responsibility to any person or entity for any liability, loss, or damage caused or alleged to be caused directly or indirectly as a result of the use, application, or interpretation of the material on this website.

