No SCOBY Kombucha Experiment
Here I make kombucha without a SCOBY along with a batch with a SCOBY to understand the benefits of using a Kombucha SCOBY
I have successfully made kombucha without a SCOBY several times. I have not taken the time to document the timeline and logged the pH consistently to understand how having a SCOBY can help with fermentation.
In addition to acting as a physical barrier to invaders, the kombucha SCOBY should provide fermentation benefits (think speed) since it is covered in good microorganisms that assist the fermentation process over a no SCOBY fermentation.
In this no SCOBY kombucha experiment I document side-by-side a kombucha fermentation with a SCOBY and a no SCOBY kombucha fermentation. I’ve included pictures so you can see the SCOBY growth stages.
What is A Kombucha SCOBY?
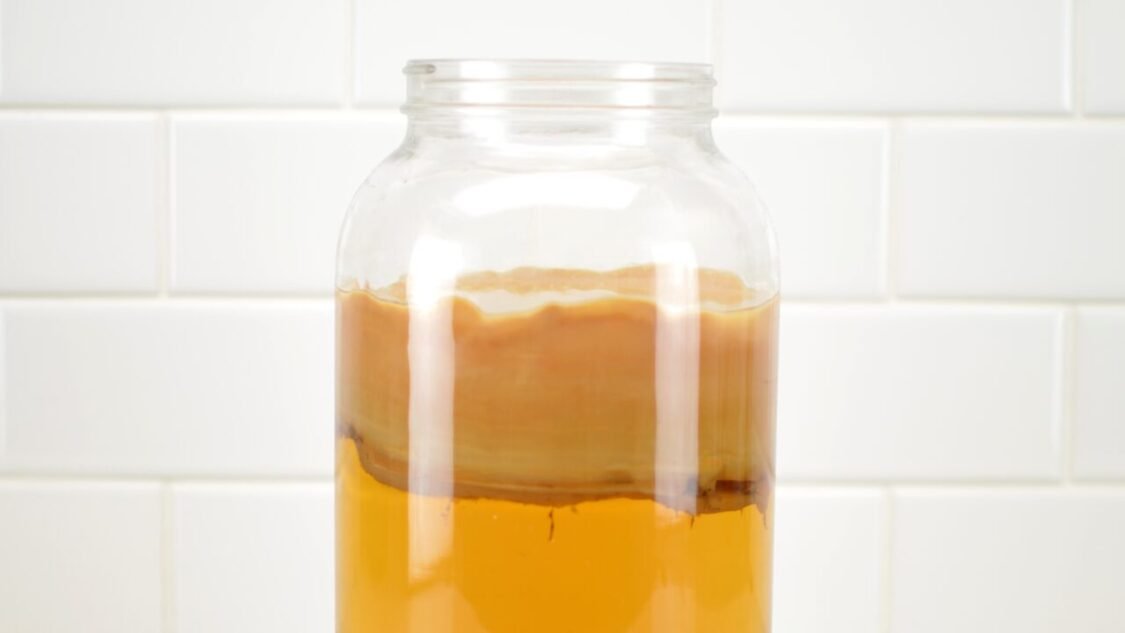
A Kombucha SCOBY (Symbiotic Culture Of Bacteria and Yeast), also sometimes called a “Kombucha Mother” essentially the floating home for the yeast and bacteria that transform sweetened tea into delicious kombucha.
The culture of good microorganisms on the SCOBY (and also in the starter liquid reserved from a previous batch) can be viewed in a similar manner as sourdough bakers have a “starter” or “mother” which are a unique combination of yeasts that when fed flour and water produce sourdough bread except the SCOBY is fed tea and sugar.
Why Make Kombucha without a SCOBY?
Even though the SCOBY is known to have the bacteria and yeast cultures needed to ferment sweetened tea into kombucha, these cultures are also found throughout fermented kombucha which is used as the starter liquid for the next batch.
There are times when you may not have a SCOBY for a variety of reasons, and demonstrating the effects of making kombucha without a SCOBY will generate useful insight that other can use in their kombucha brewing.
Kombucha No SCOBY Experiment
First attempt (Janurary 2024)
Setup:
For this iteration of the no SCOBY kombucha experiment I first made 1.75 gallons of sweetened tea and cooled it to room temperature
Once the tea was cool, I divided it between two identical, clean glass fermenters. I reserved 4 cups of kombucha from a prior batch to act as my starter liquid, stirred it up so that it was uniform and added 2 cups to each fermenter.
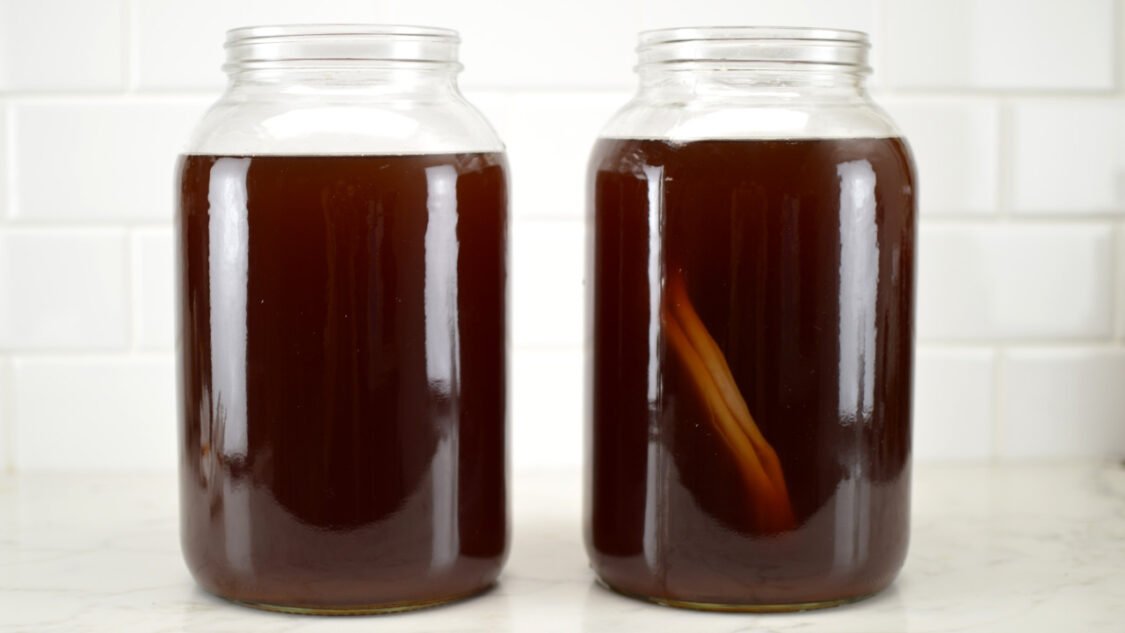
I removed a SCOBY from my SCOBY hotel and added it to one of the fermenters for the Kombucha with SCOBY fermentation (the one on the right in the picture below.) This will be the “control” since it is the most common method for making kombucha. The one on the left in the same picture is the Kombucha without SCOBY recipe.
I placed the fermenters next to each area and held at a temperature of 76 degrees Fahrenheit.
Initial pH Measurements:
pH of starter tea (kombucha saved from a previous batch): The starter tea had a pH of 3.09. This is well below the low end for how I like to drink it and chose this batch since I wanted the additional acidity to lower the pH of the sweetened tea from the start to inhibit any infection.
pH of fermenters: With the addition of the sweetened tea, the fermenters had a pH of 3.31 – well below the goal starting point of 4.5.
First Check-in 48 hours later
After letting the fermenters sit at temperature for 48 hours I took a peek at them and took samples to measure pH.
Visually they look nearly identical (with the exception of the sunken SCOBY in one); however, the kombucha without a SCOBY has a small floating mass on it which looks like it could be the start of a Kahm Yeast colony (see pictures below).
pH measurements:
- pH of Kombucha with no SCOBY: 3.30
- pH of Kombucha with SCOBY: 3.28
The pH has already started to fall for each with the SCOBY fermenter falling 0.03 and the no SCOBY falling 0.01.
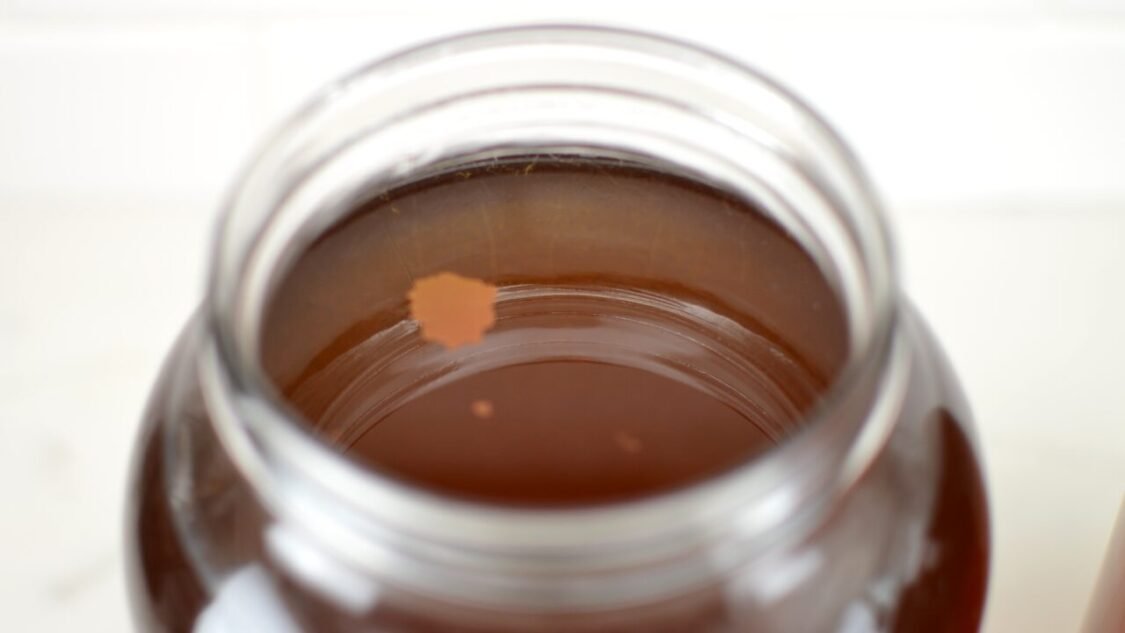
48 Hour Fermenting Kombucha without SCOBY
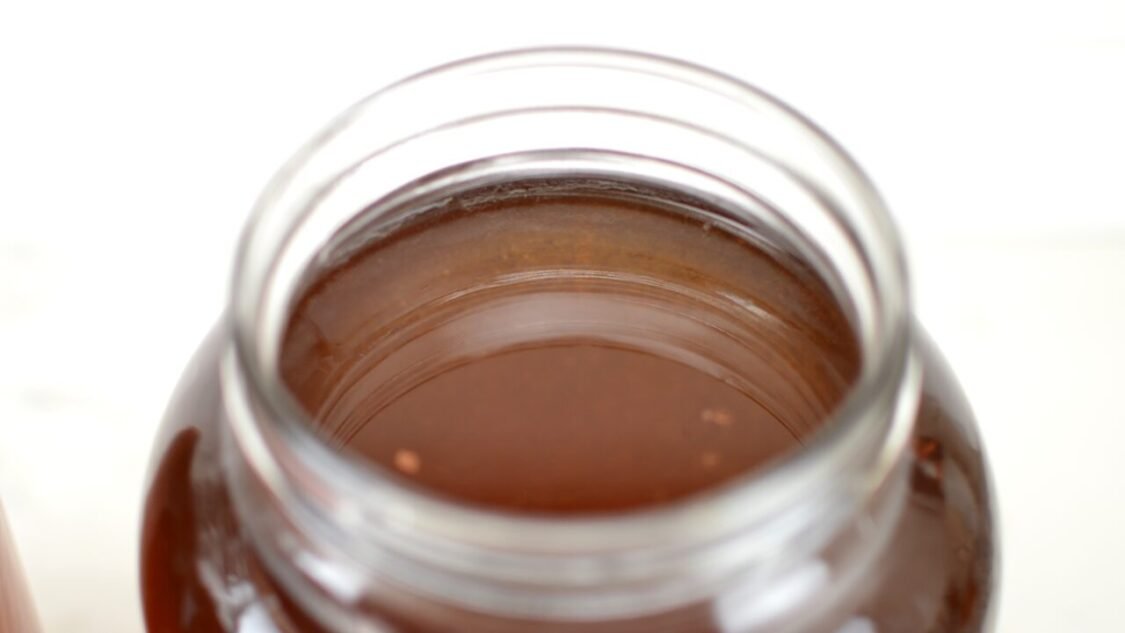
48 Hour Fermenting Kombucha with a SCOBY
Second Check-in: 96 Hours After Start
After letting the fermenters sit at temperature for another 48 hours (for a total of 96 hours now) I again took pictures and used my wine thief to steal small samples for pH measurement.
Both fermenters of kombucha now have a thin “skin” of a baby SCOBY forming on top (see pictures below). Additionally, on the surface of Kombucha fermented without a SCOBY the small patch that I initially thought was Kahm has grown considerably.
While is does not look like Kahm anymore, I am reserving final judgement until fermentation progresses a bit more.
pH measurements:
- pH of Kombucha with no SCOBY: 3.09
- pH of Kombucha with SCOBY: 3.07
The pH has fallen dramatically in the past 48 hours indicating the the microbes in the liquid are working overtime to digest the sugars in the liquid and create kombucha!
At this point the pH would indicate the the Kombucha is done fermenting and a taste test does confirm that the sweetness has fallen considerably and there is a slight tang from the fermentation.
I’m going to let them go another 48 hours and check again on their progress but so far it’s looking like the SCOBY is not necessary.
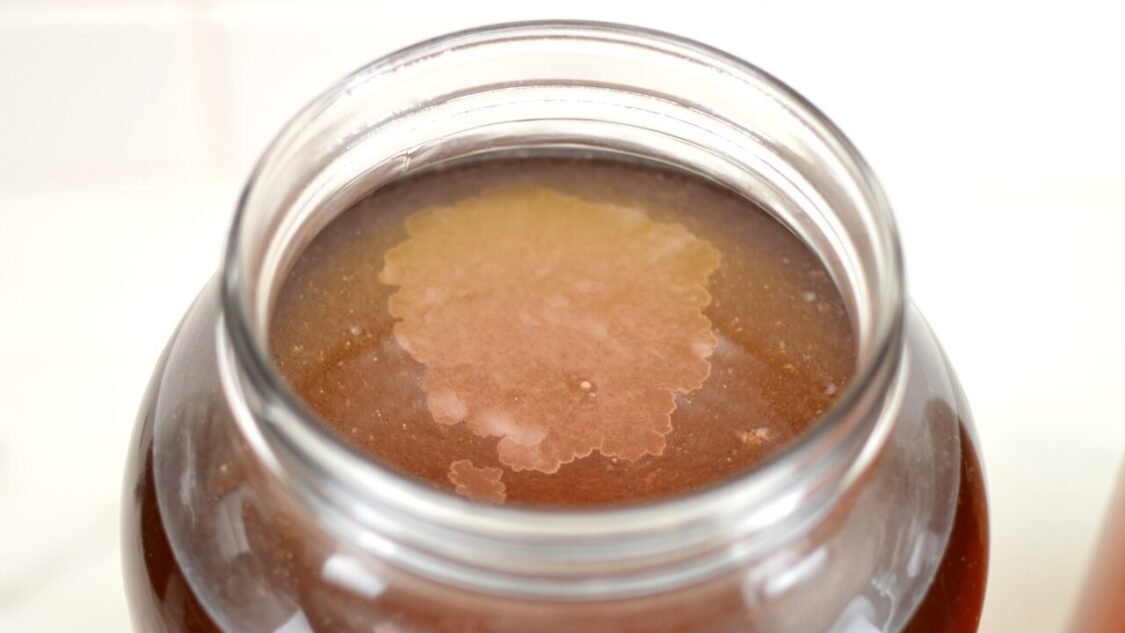
96 Hour Fermenting Kombucha without SCOBY
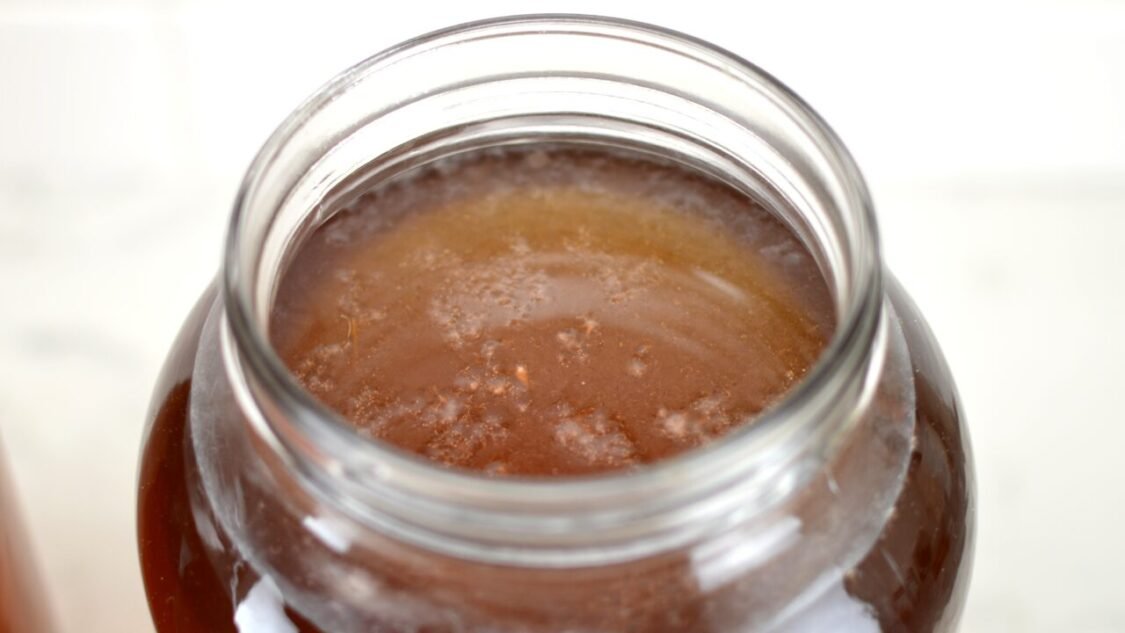
96 Hour Fermenting Kombucha with a SCOBY
Second Check-in: 144 Hours After Start
After letting the fermenters sit at temperature for another 48 hours (for a total of 144 hours now–6 days) I took mores pictures to document the progress and used my wine thief to steal small samples for pH measurement.
Each of the fermenters has the beginnings of a new SCOBY covering the top of the liquid. The kombucha fermenting with a SCOBY has what looks to be a more “normal” or typical SCOBY development and the one without a SCOBY appears to be lagging a bit.
I am confident at this point that the kombucha without SCOBY version does not have Kahm and it was just an oddly shaped blob that formed on the top prior to development of the SCOBY.
pH measurements:
- pH of Kombucha with no SCOBY: 2.99
- pH of Kombucha with SCOBY: 2.93
Tasting the kombucha, their tastes are indistinguishable and at this point I would move them to secondary fermentation and add some fresh or frozen fruit to finish it before bottling.
I am going to let them go a few more days to develop a firm SCOBY and see how they look.
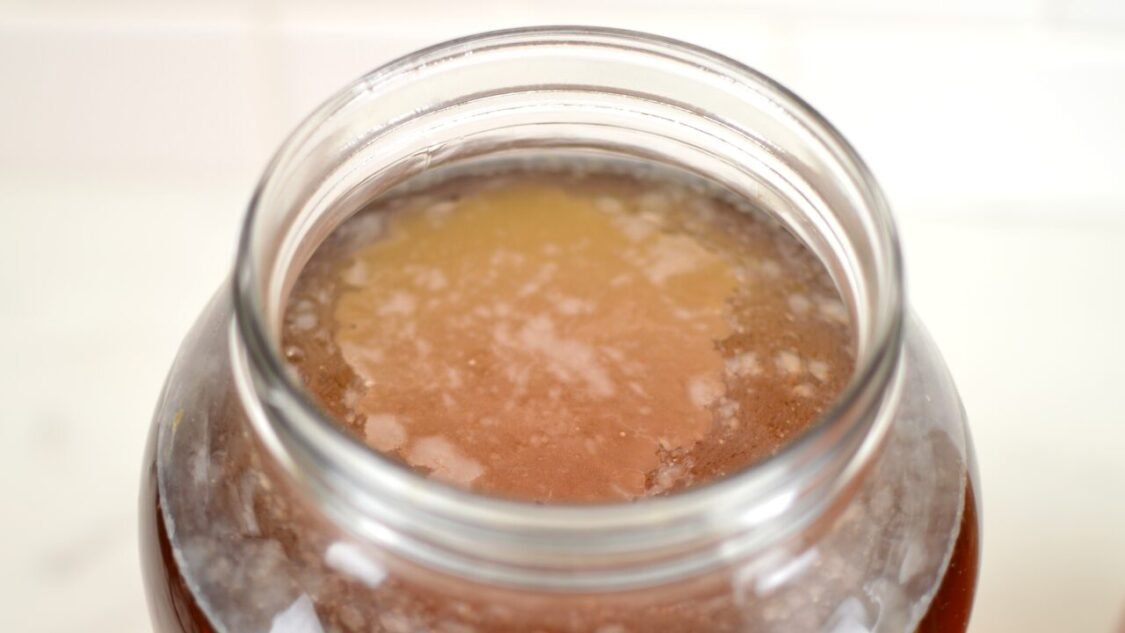
144 Hour Fermenting Kombucha without SCOBY
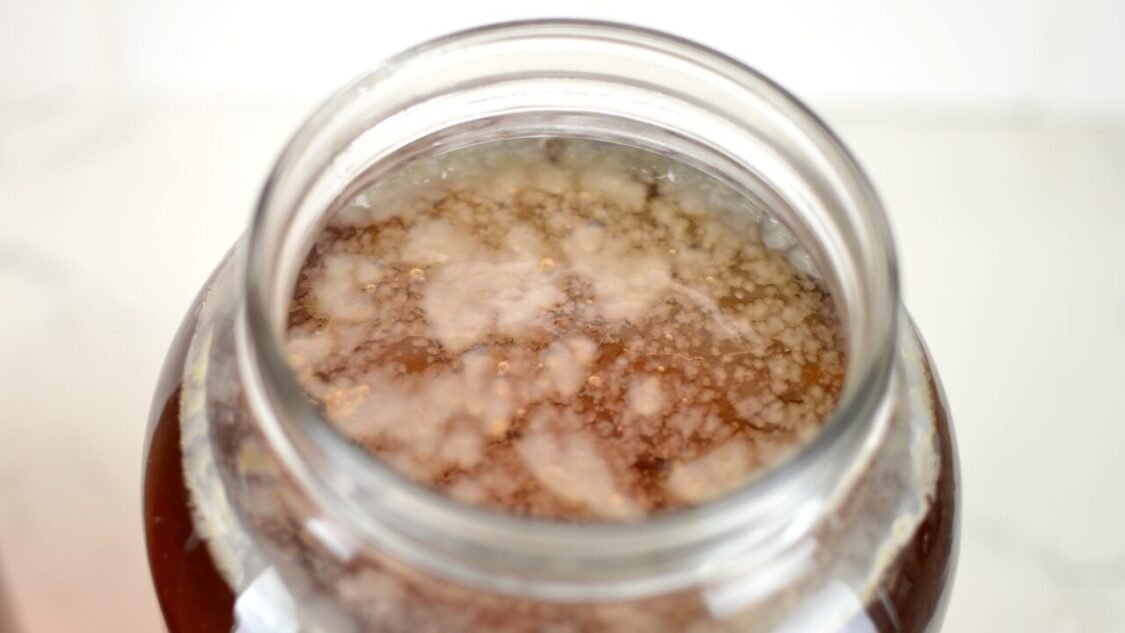
144 Hour Fermenting Kombucha with a SCOBY
Helping you learn to brew kombucha, find inspiration for new kombucha flavors and use kombucha to make kombucha mocktails

