Orange Kombucha
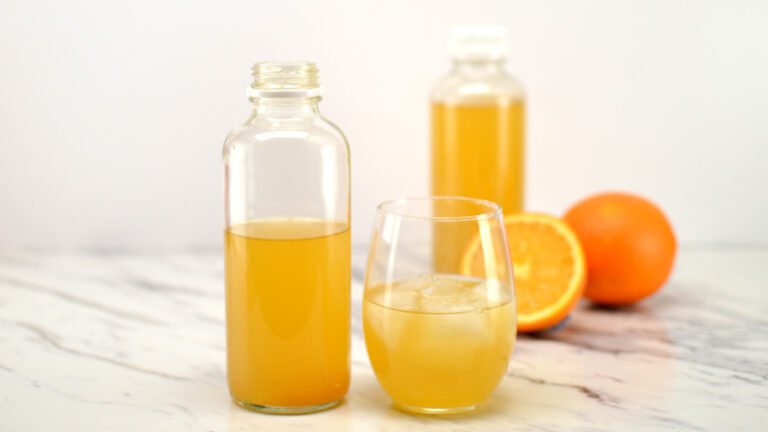
Almost everybody knows the smell and taste associated with the experience of biting into a wedge of fresh, ripe orange or sipping some freshly squeezed orange juice. Now imaging taking the tart and complex flavors of kombucha (which is packed with probiotics) and adding fresh orange to it. Kombucha makes the vitamin C and other minerals in oranges more bioavailable for your body—and mention more delicious.
Orange kombucha is a great base for experimentation since it goes very well with other flavors. For example, you could try a variation such as Orange Creamsicle Kombucha.
Kombucha Fermentation Overview
There are two fermentation phases when making kombucha:
Primary Fermentation: This is when you transform sweet tea into tart and tasty kombucha. Get all the details at my article on how to make kombucha.
Secondary Fermentation: This is when you carbonate your homemade kombucha by adding flavors (like oranges ?) and sugars and bottling it.
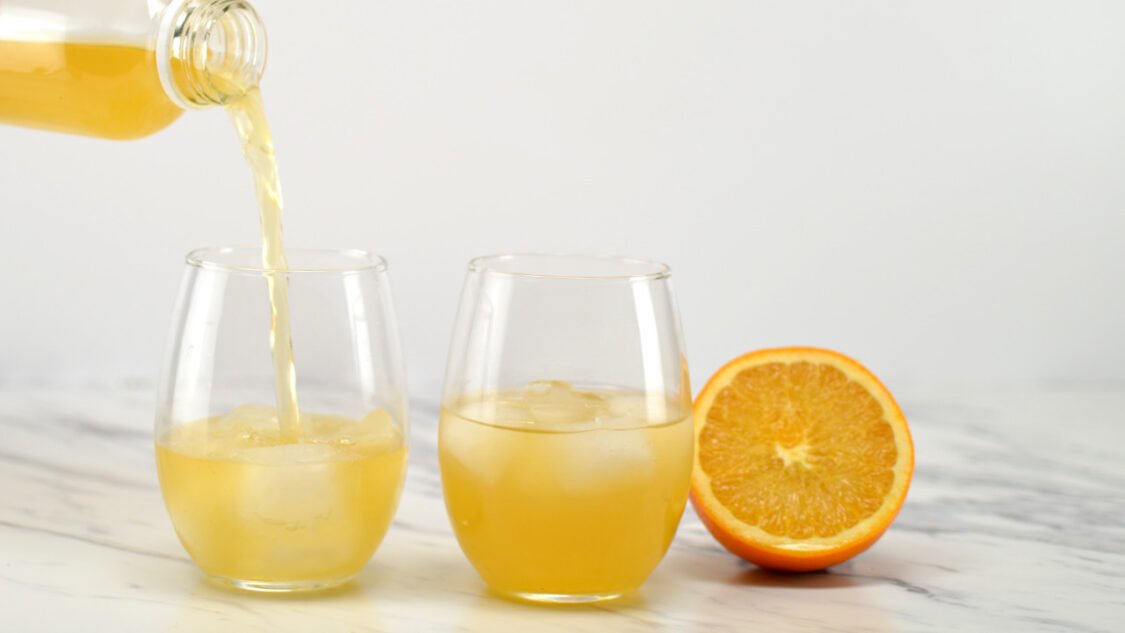
Preparing for Secondary Fermentation
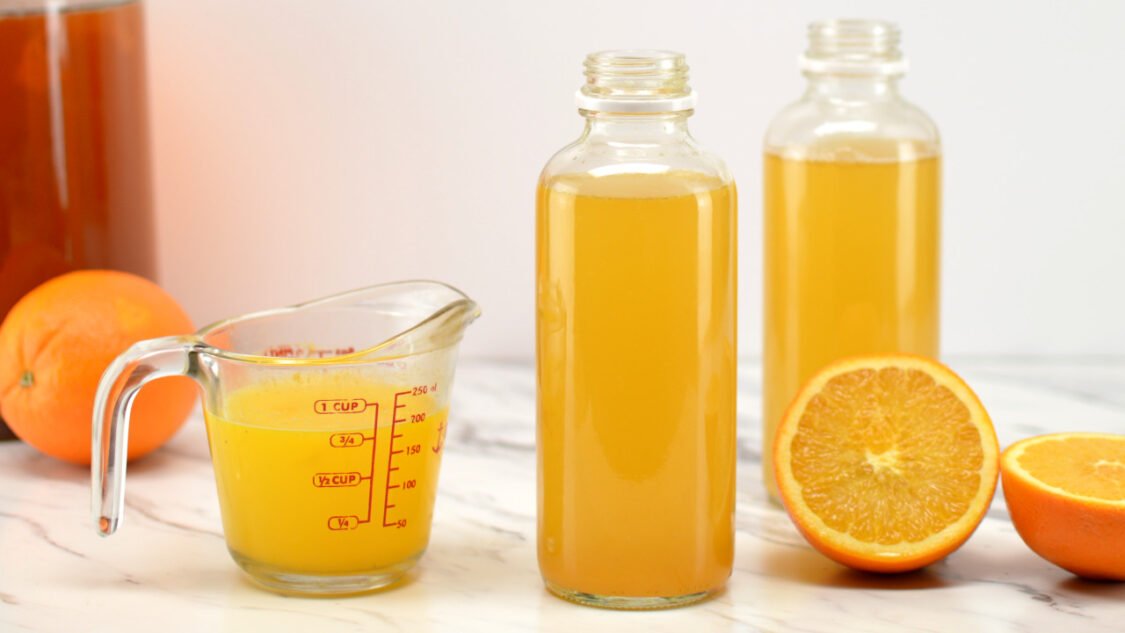
This recipe makes about 7 x 16 fluid ounce bottles of finished kombucha (from a 1-gallon batch of unflavored homemade kombucha aka from your primary fermentation).
Reserve 2 cups (about 16 oz / 0.47L) kombucha and your SCOBY from your completed primary fermentation and set aside – you will use this as your starter for your next gallon batch of kombucha.
With your kombucha starter tea and SCOBY placed aside, you now have enough kombucha left to flavor and fill your bottles. This guide assumes are using 16 oz. glass bottles which are a popular choice for kombucha; however, there are many options for bottling kombucha.
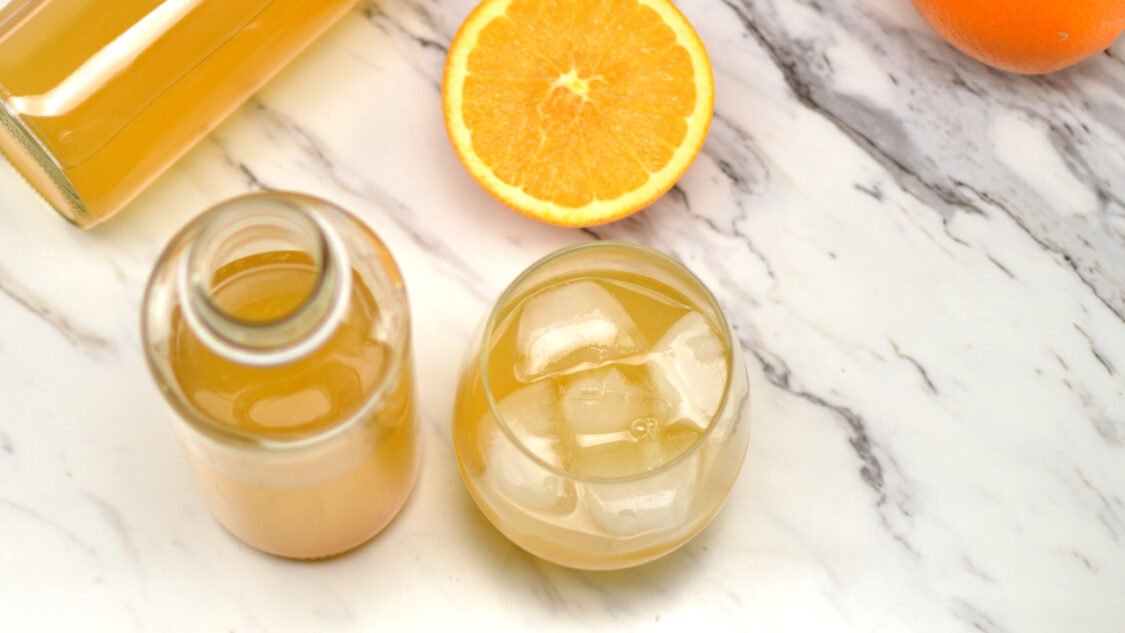
Ingredients to make Orange Kombucha
Kombucha Finished kombucha from your first fermentation is the base to which you will add the orange flavor
Oranges: Fresh oranges are preferred; however, freshly squeezed orange juice will also work. Before making orange kombucha, you should first taste the orange. It’s better to use a sweeter fruit to compliment the tartness of the kombucha. Oranges in a bag aren’t consistent with regard to of ripeness and sweetness; therefore, it’s a good idea to sample the orange before using in your kombucha.
Sugar: A touch of additional sugar for bacteria and yeast to feed on which creates carbonation–extra fizzy goodness. When filling 16 ounce bottles I’ve found a sugar cube has the right amount of sugar (1 tsp) for carbonation and is a convenient way to add the right amount without the mess.
How to make Orange Kombucha
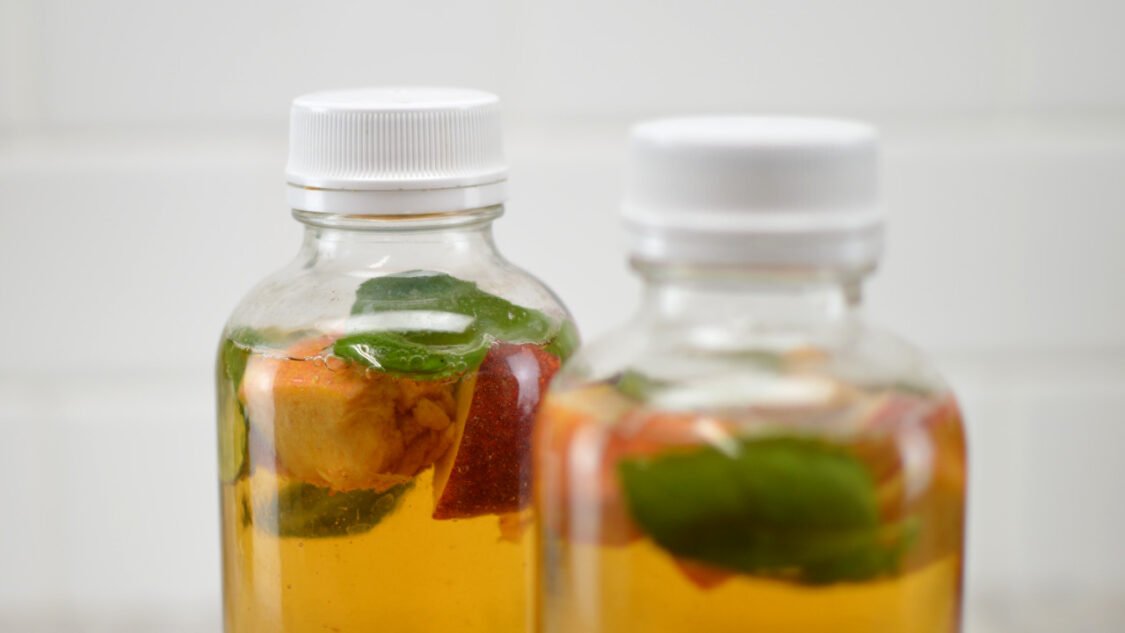
Add Flavors: Add chopped orange or orange juice to the bottles.
Bottle: Transfer kombucha to fermentation bottles.
Condition: For 3 to 10 days, until it reaches the carbonation level you like.
Enjoy: Chill in the refrigerator before serving and strain out fruit pieces when pouring (optional)
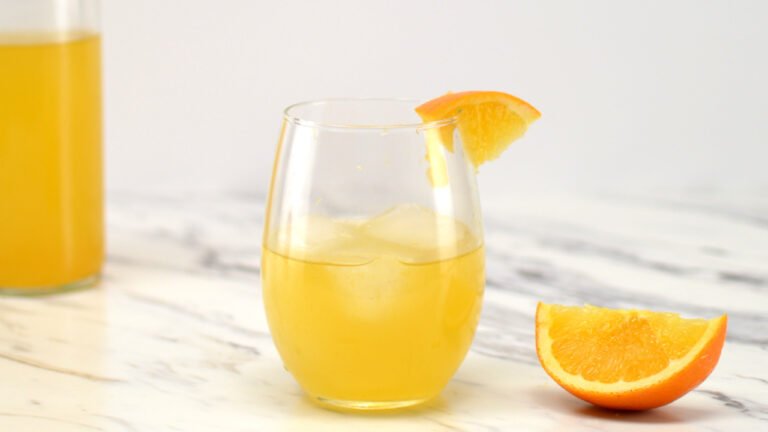
Orange Kombucha Recipe
Yield: 7 bottles • Active time: 20 minutes • Total time: 3 -10 days
This recipe assumes you are doing a secondary fermentation (flavoring and carbonation) in the bottle. You may also incorporate a third fermentation using the same proportions but following the third fermentation steps.
Ingredients:
1 gallon homemade kombucha from a first fermentation, 1.9 L
2 oranges, peeled and chopped into 1/4-inch pieces (discard seeds)
7 sugar cubes or 2 Tbs white sugar 12 g
Instructions:
Prepare oranges: Peel and coarsely chop oranges, removing seeds and any biter pith. Alternatively you juice the orange which results in finished kombucha without fruit chunks
Flavor: Evenly divide chopped orange among bottles
Sweeten: Add one sugar cube per 16 bottle or evenly divide sugar between bottles (about 1 tsp per 16 0z bottle)
Fill bottles: Transfer kombucha into fermentation bottles, leaving about 1 inch empty at the top
Cap: Cap the filled bottles and tighten the cap snugly.
Ferment: Place in a dark, room temperature area for 3 to 10 days, until it reaches the carbonation level you like. This process will go faster in warmer climates, and slower in cooler climates.
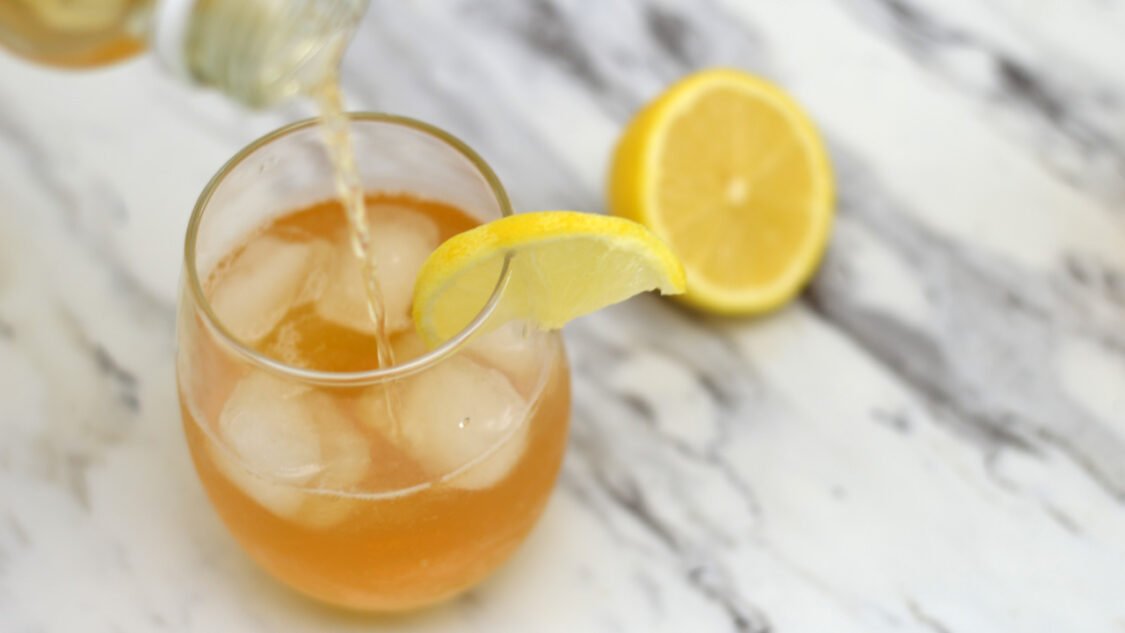
Enjoy: Chill your orange kombucha bottles in the fridge before serving and strain the kombucha to remove fruit pieces when serving (optional).
Homemade Kombucha can be stored in the fridge, tightly sealed, for several weeks.
Tips & Tricks:
Make sweet tea for your next batch the night before you flavor and bottling and let it cool on the stove overnight so that you can flavor your kombucha and get your next batch started at the same time.
If this is your first time brewing, it may be helpful to use a plastic water bottle as a gauge. Fill a recyclable plastic bottle with kombucha (leaving 1.5 inches empty at the top). When this bottle becomes rock hard, you’ll know the glass bottles are also ready. This will help you gauge how long it take for kombucha to carbonate your climate and will prevent bottle explosions.
Nutrition Information:
Kombucha Recipes You Might Also Like
Helping you learn to brew kombucha, find inspiration for new kombucha flavors and use kombucha to make kombucha mocktails

